
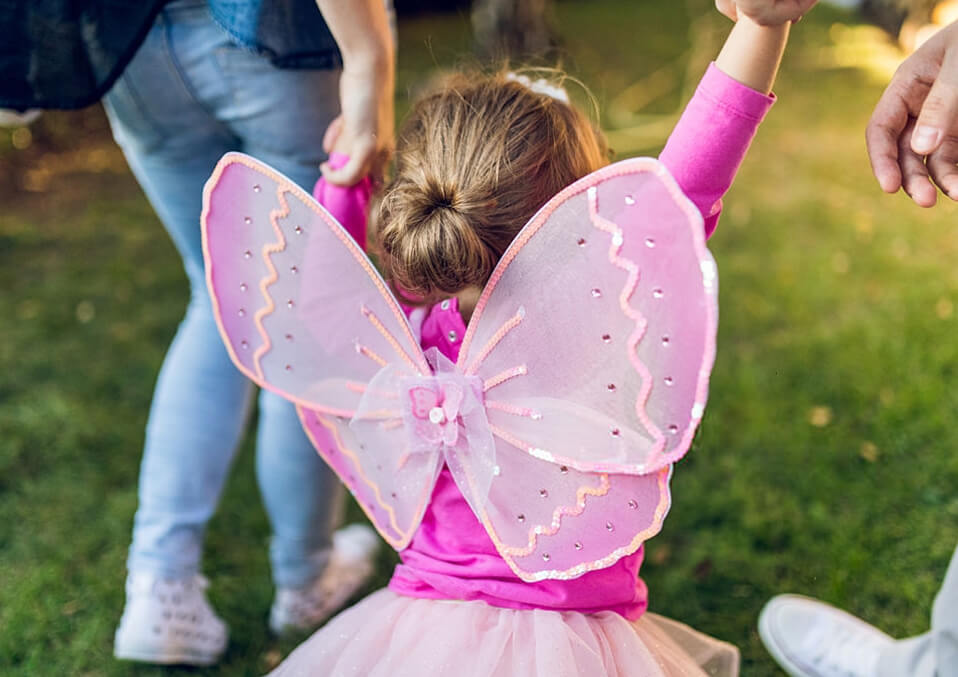
If you want a unique costume for Halloween, you can try out this homemade toddler fairy wings for a change.
One way to save money on Halloween is to make fairy wings. Although the easiest way to create homemade toddler fairy wings is to use cardboard, you can create one with coat hangers and stockings.
Steps on creating homemade toddler fairy wings
Let us now take a close look at the steps on how to create homemade toddler fairy wings by using coat hangers and stockings.
Using four wire hangers, remove the hook part using wire cutters
Make sure that you are going to remove the hook up to where the twisted section starts. Avoid cutting into the twisted section of the hanger.
In case you do not have wire coat hangers available, an alternative is a 12-gauge wire. Cut the wire and twist to create four large hoops. Make sure that the twisted part is 2-3 inches long.
Make rough oval or circle shapes using the hangers
Make sure that you have 2 sets of equal shapes – one for the upper and one for the bottom. If the shapes that you formed are not perfect, do not worry since you will later refine them.
Overlap and lock the twisted parts
Position the first set of wings on a flat surface where the twisted sections face each other. Place the twisted parts in an overlapping position and use duct tape to secure them tightly. Repeat on the second wings. In case duct tape is not available, you can use electrical tape or a florist’s tape as an alternative.
Secure the sets of wings using duct tape
Place the wings on a flat surface so that they are parallel to each other. Position the taped parts together and secure them with duct tape. If the wings overlap, do not worry since you can fix them in the next step.
Reposition the wings if needed to achieve the shape that you want
You can bend the 2 upper wings upwards and the 2 bottom wings downwards. With this approach, they will not overlap anymore. At this point, you can also bend the wire further into ovals, circles or other wing shapes that you want.
Stretch stocking over each wind and secure with tape
Once the frame of the wings is ready, slip a stocking over each wing. Tug the stockings towards the middle section until stretched thin. Turn the ends and cover with duct tape to secure in place.
If you have white stockings available, they are the best choice since they will also present color better if you decide to paint on them.
Cut off any excess stocking and readjust the shape of the wing if needed
Depending on how you pulled tightly on the stocking, there might be some excess from under the tape in the middle of the wings. Cut off the excess as near to the tape as possible. In case the wings become deformed, simply bend it back into shape.
Use spray paint to add color to the wings
If necessary, you can use spray paint to add color to the fairy wing pattern. Make sure that you will do this outside or in a well-ventilated area. Lightly mist with the spray paint and allow to dry. Turn the wings upside down to finish the other side.
Decorating the wings with rhinestones or glitter
This is the fun step in creating your homemade toddler fairy wings. You can draw the designs that you want on the wings using glue and sprinkle some glitter on top. Make sure that you will shake off the excess glitter and allow to dry. If you want added sparkle, you can add rhinestone by using fabric glue or hot glue.
Use felt to cover the taped center
Using felt, cut a 2-inch rectangle that matches your wings. Make sure that the felt is wide enough to include the taped center of the wings.
Pleat the felt over the wire, pop it in the middle and secure with fabric or hot glue.
In case you want your homemade toddler fairy wings to look more appealing, cover the felt section of the wings with a big artificial flower.
Loop 2 long pieces of ribbon around the taped wire center
Use a long piece of ribbon that matches the design of your wing. Pleat the ribbon halfway. Fasten it behind the taped wire in the middle of your wings. Make sure that the looping section sticks out by an inch. Draw out the 2 ends of the ribbon through the loop.
Pull them to tighten the knot. Glide the ribbon over the left-wing. Do the same with the second piece of ribbon but pass it over the right-wing.
Use the ribbons to secure the wings onto the shoulders
As the last step, you can tie the top and bottom ribbons together so that the handmade fairy wings can be worn as a backpack. You can also cross the ribbons over the chest and tie them together.
Final thoughts
By following these simple steps in creating your homemade toddler fairy wings, you can have a unique costume for the next Halloween that will surely stand out from the rest.
Read also:
- Top Toys for 6-Year-Old Girls
- Best Christmas Toys for Girls
- Fun and Creative Things to Make with Tissue Paper
