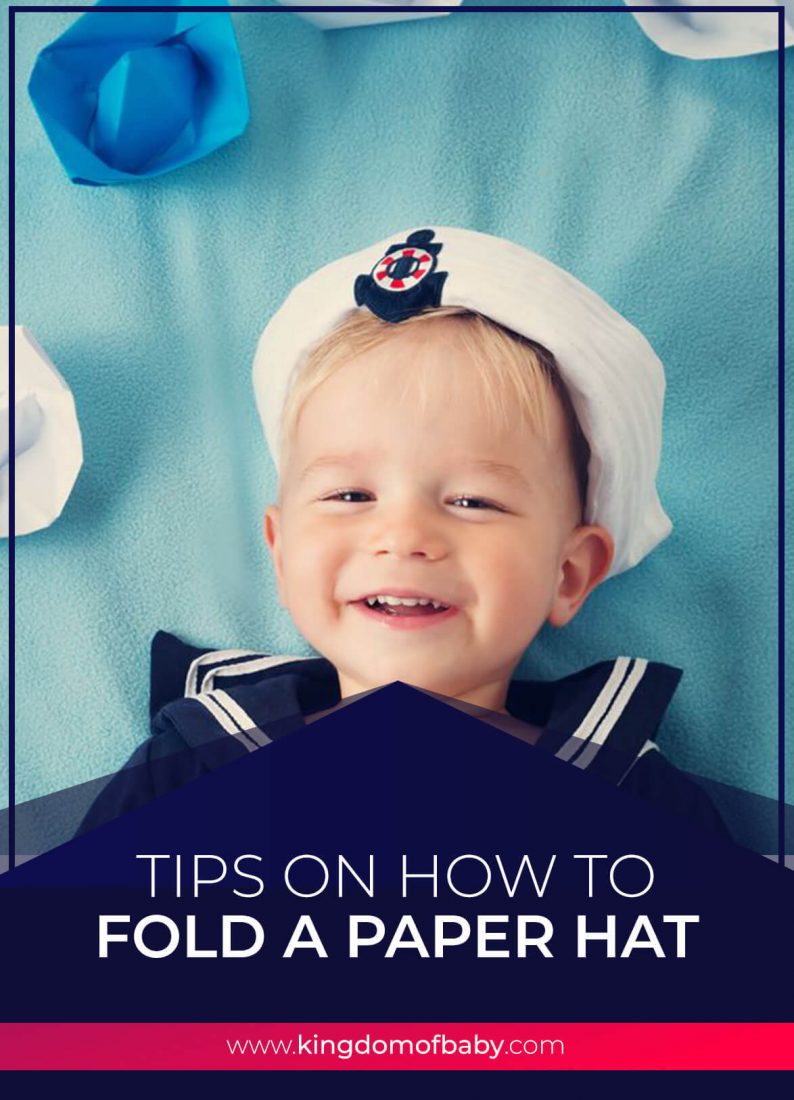
Hats are a cool way to add attractiveness and fun to a play, parties, and even dress up parties. If you have a talent of creating hats on your own, you might want to consider making those instead of buying readymade hats. It is fun and simple missions appropriate for all ages. Once you know how to make things and be creative, you can be able to save money while having great fun.
Are you fond of creating things out of paper? Do you have that talent to craft hats like those kids wanted to wear in a party? Then this article is right just for you.
What is a paper hat?
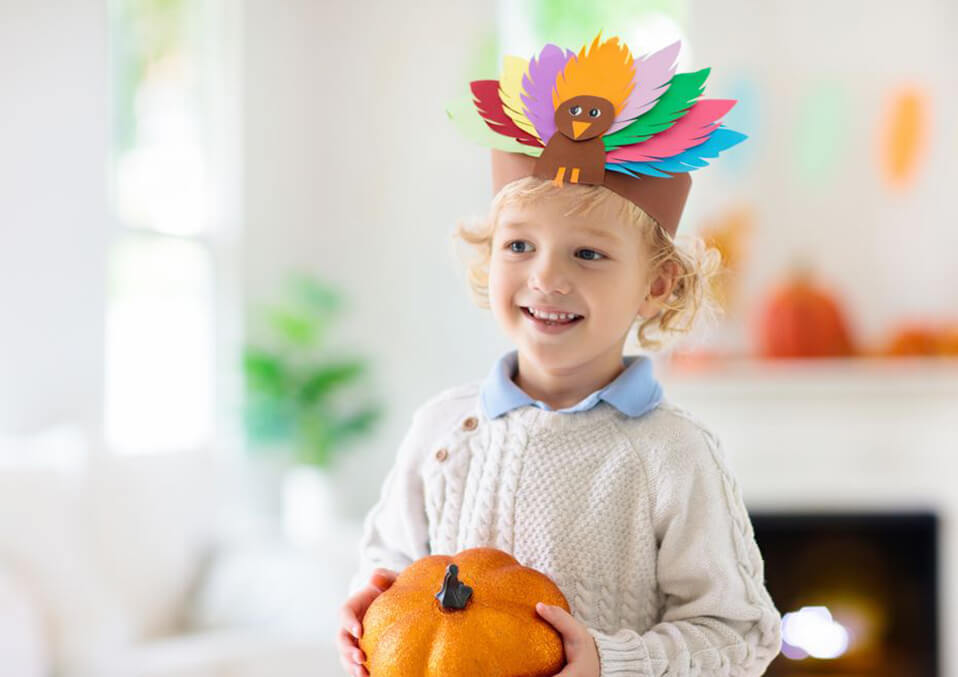
A paper hat is a hat made out of paper; just like hats from crepe paper as party props. Paper hats are also made from newspaper. Even if you just have a simple piece of paper, you can practice making out of it even if it looks really small. Once you mastered making it in a small piece of paper, then you’d be able to do it in a larger sized paper to come up with the bigger one. Children are considered to be very amazed by these. Even toddlers were very happy to wear paper hats.
What to do to make a paper hat?

When you’re looking for hats for celebration props for children’s party or a project in school that is affordable, the best choice to make is the paper hats. Newspapers, construction papers or even recycled paper bags, can all be used to make a paper hat.
Take a look at some instructions on how to create DIY paper hats for kids. With just a little help from an expert, these hats are easy enough for you to make. There are three types of hats that will be discussed here: the Origami Hat, the Paper Cone Hat, and the Flower Power Sun Visor.
Origami hat
The origami hats are the simplest hats and the cool model for kids to make because it’s too cute and simple to wear afterward!
Materials needed: Newspapers or rectangle sized paper
Steps on how to make
First Step: Get a regular cut of rectangular paper
Second Step: Fold the paper lengthwise and unfold. Just make sure the fold mark is visible.
Third Step: From top to bottom, fold again the paper in half
Fourth Step: Fold the right and left corners to the center that enables you to form a triangle
Fifth Step: Fold the bottom tab along the base of the triangle
Sixth Step: Turn the paper over
Seventh Step: Fold again the bottom flap just like what you did in the fifth step and you’re done!
Paper cone hat
Making a Cone Hat fits for those who wanted to go to a costume party and portrays to be a wizard or a witch. Wizards are like those in the Harry Potter movies worn by the students of Hogwarts. Same is through with the horror of the witches with their broomstick and their cone hats worn.
Materials needed: Construction paper, pencil, scissors, compass, staplers, glue, and tapes
Steps on how to make

First: Prepare the construction paper and place it in the table
Second: Using a compass, draw a half-circle on the edges of the paper and the edge will be even
Third: Once it’s done, cut out the circle you have drawn in the paper
Fourth: Roll the paper into a cone or fold it to build a foundation and secure the layer
Fifth: Cut a brim and put some glue on it if you are making a witch’s hat
Sixth: Staple a thin elastic cord to the bottom of the hat if preferred
Seventh: Put some decorations to your hat to make it look attractive
Eighth: Before you wear it, let it dry and it’s done.
Flower power sun visor
This type of hat is a charming and colorful way to cover your eyes from sunlight. Materials needed would be just paper plates, few art supplies, and your creativity. Next thing you knew, you will be singing “Let the Sunshine In”!
Materials Needed: Paper Plates, Scissors, Pencils, glue guns, poster paint
Steps on how to make
First: In the rim on one side of the paper plate, make a cut and cut an oval shape around the center of the plate. Cut the oval smaller that you think could fit in your head and fold.
Second: Cut off the rim around the sides and the back, fold it. Leaving it complete and intact at the front part of the visor.
Third: Glue the cut in the visor back together, and the size of the hole should be adjusted if necessary then let it dry.
Fourth: If you want your visor to look more attractive, color or paint it from top to bottom and let it dry. Make use of your talent for the designs
Fifth: If you want to paste designs to your visor, then feel free to do it. Let it dry once you’re done.
Sixth: Put some building foundation to the hat so that once you wear it, it will not remove from time to time and then you’re done.
Final words
If you are a minimalist person who just wanted to create things that are easy and affordable to do, the go for it. Talent is everything. Help whenever you can and do not hesitate to share your ideas with others. Making a paper hat is very helpful most especially to children. It adds learning to them. Learning in a way that giving them idea that hats are not just limited to those readymade hats you saw in the store but hats that can be done at home. Just like Do-It-Yourself things. Creativity is everything so keep going and give attractiveness to others.
Read also: