Although first celebrated in 1868, Memorial Day has officially declared as a national holiday in 1971. It is commemorated every last Monday of May in gratitude to the brave men and women who died while serving in the US military.
Today, people have different ways of celebrating it. Some visit war memorials and veteran’s cemetery giving flowers and flags on their tomb. Others attend parade and community events. Others’ acts of sweetness are sending letters or package to the military. Others want to celebrate it casually, a family day with backyard barbecues and other special dishes.
As parents, it is vital to educate our kids on the significance of Memorial Day. We can read to them stories or watch films together that present the bravery and patriotism of this military personnel. One of the many ways to make children appreciate this day is through arts and crafts. It will not only stir the creativity in them, but they will also learn patriotism and appreciate the sacrifices of US soldiers to protect the people. This can also serve as bonding moments among kids and parents.
Here are some art activities your children will enjoy in the commemoration of this special day.
Craft stick flag
Materials: 9 craft sticks Red and white acrylic paint Brushes Blue construction paper Glue Either white paper or a white gel pen Procedures: Paint 5 craft sticks red and 4 craft sticks white. Let them dry.
Glue them together in alternate colors. You can use another craft stick to hold the colored craft sticks at the back. Support it with another two pieces of half craft stick. Let them dry.
Cut a small square of blue construction paper. Using a white gel pen, draw many stars on it. You can also cut small white stars and paste them on the blue paper.
Glue the blue paper with stars on the left corner of the flag. Let it dry.
Memorial day windsock

Materials: cylindrical cardboard, probably an oatmeal box Blue and white colored paper Red and white crepe paper strip Glue, stapler String or yarn A pair of scissors Hole punch Procedures: Using the scissors, cut the bottom of the cylindrical box. Cover it with blue construction paper and glue cut, white paper stars in it. Cut strips of white and red crepe papers and staple them on one end of the windsock. Punch 4 opposite holes along the top of the windsock. Cut two strings about 1 foot long. Tie it on the hole of the windsock and to its opposite hole. Do it again on the remaining holes. Cut another string and tie it on the first set of strings. This will be used to hang your patriotic sock.
Patriotic pinwheel
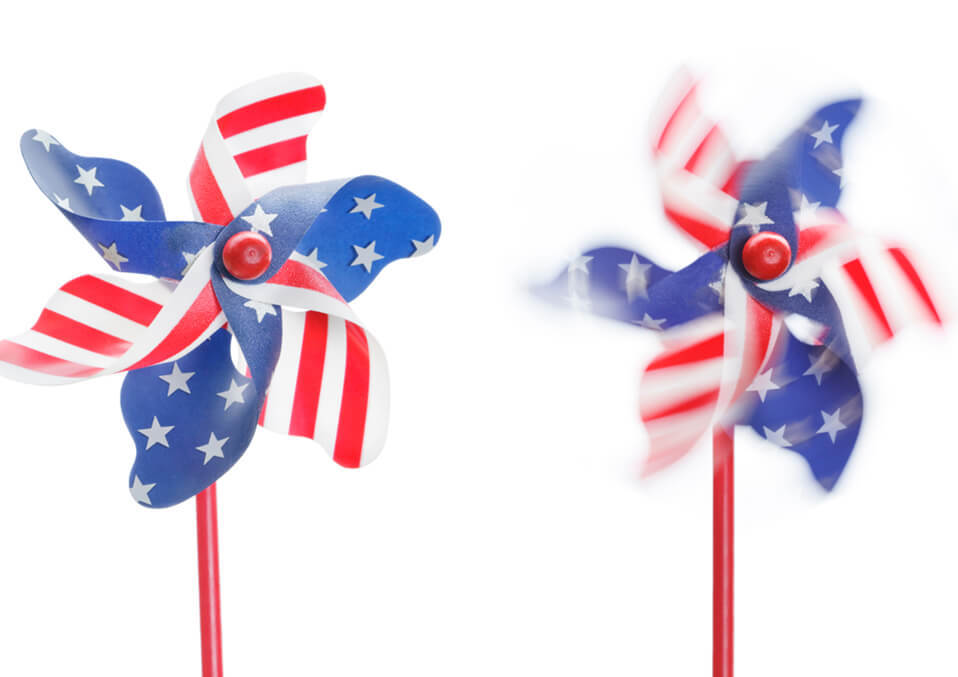
Materials: 2 pieces of construction paper (the thicker the better, preferably white and blue) Scissors A hole punch A push-pin A pencil with eraser Markers or crayons Procedures: Make a square from each paper. Fold it in half to form a triangle. Fold again to form a smaller triangle. Unfold.
Decorate one side of each paper. You can put white stars on the blue paper using white markers. You can use red markers to create stripes on the white paper. Put the undecorated side of the paper together. Cut along the folded lines, leaving about 1/3 from the center. Gather alternate points to the center and secure it with a pushpin. Using the same pushpin, attached the wheel to the eraser of the pencil.
String of stars
Materials: Construction paper (red, white and blue) A star template Scissors String or yarn (red, white or blue) A stapler or tape Procedures:
Construction paper (red, white and blue) A star template Scissors String or yarn (red, white or blue) A stapler or tape Procedures:
Materials: Construction paper (red, white and blue) A star template Scissors String or yarn (red, white or blue) A stapler or tape Procedures:
- Using the star template, cut stars from the construction paper.
- Decorate each star, preferably with stars or stripes.
- Fold the top tip of the star.
- Staple or tape the stars in the length of the string.
Patriotic wreath
Materials: Red, white and blue construction paper A paper plate Strips of crepe paper, preferably white, blue and red Scissors Glue Optional – glitter Procedures: Cut a large hole in the paper plate. Using star templates, cut the stars from the construction paper. You can use various sizes. Glue the stars to the paper plate. Be sure that all parts of the paper plate are covered. Put glitters for an additional touch. You can also add strips of crepe paper in the bottom of the wreath.
Patriotic necklace
Materials: String or thin yarn Scissors cello tape Blue pony beads Stripe (red and white) paper straws Procedures: Cut the straws into 1 inch thick.
Cut strings that are long enough to pass through your child’s head. Allot an extra space for tying your necklace. Tie a pony bead at one end of the string. This will prevent the beads and straws from falling. Wrap the other end of the straw with scotch tape for easier threading.
Begin putting the straw and the beads onto the string. You can make your design by alternating the beads and the straw. You can put 5 beads in between the straw. You can even put three. It is up to you to make your project more appealing.
As you finished threading, tie both ends of the string to form your necklace. Cut the ends which have beads and straw. You can follow the same process but on a shorter piece of string to create your patriotic bracelet.
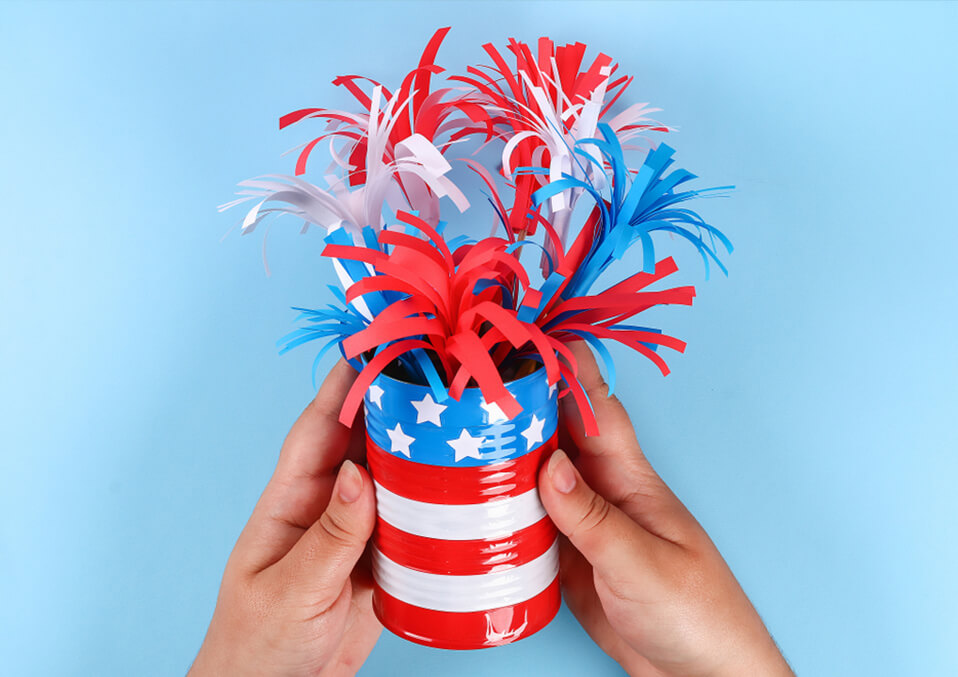
Patriotic parade stick
Materials: Duct tape – (red, white and blue) Scissors Sturdy cardboard tube (from plastic wraps and aluminum foil) Star stickers Hole punch Direction: Pull a strip of white tape about 12 inches long. Fold the tape onto itself lengthwise. Press to remove air spaces.
Do the same on the red and blue tape. Repeat the procedure until you have three for each color. Use scissors to trim sticky edges. Starting from the bottom of the strip, cut the tape in the middle and stop to leave at least three inches from the top. Fold it once again and cut. You can form 4 tassels on each tape. Repeat the procedure in the remaining folded tapes. Attach the tassels at one end of the cardboard tube using duct tape. Do the same until all tassels are attached. Secure it with a wider piece of the tape. Cover the cardboard tube with white tape. Pull a strip of blue tape and create circles using the hole punch. Wrap it on the top part of the tube board near the tassels. Put additional red tape on the body of the tube board to creates stripes of white and red.
Read also:
- How To Make Coffee Filter Butterflies
- Native American Names That Will Inspire And Blow Your Mind
- The Most Masculine Boy Names All Moms Are Already Obsessed With